
Does someone keep forgetting to assign a snapshot policy to your organization’s most important Azure NetApp Files volumes leaving your data unprotected?
How can I audit for volumes that do not have a snapshot policy assigned?
How can I prevent users from creating volumes without a snapshot policy?
Don’t worry, Azure Policy to the rescue! Keep reading and I’ll show you how to create an Azure policy definition and apply it to your subscription so you can rest easy knowing your critical data is protected with the world’s best snapshot technology.
This post will walk you through the process step by step, but it is always a good idea to read the docs. Take a look at the Microsoft Documentation and get familiar with the various concepts. Understand when policies are evaluated, the difference between ‘audit’ and ‘deny’, the structure of a custom policy definition, exemptions, and all the other goodness that comes with Azure Policy.
Ok, let’s get to it…
1. Navigate to ‘Policy’ within the Azure portal and click on ‘Definitions’ in the menu on the left. You should see a long list of built in definitions.
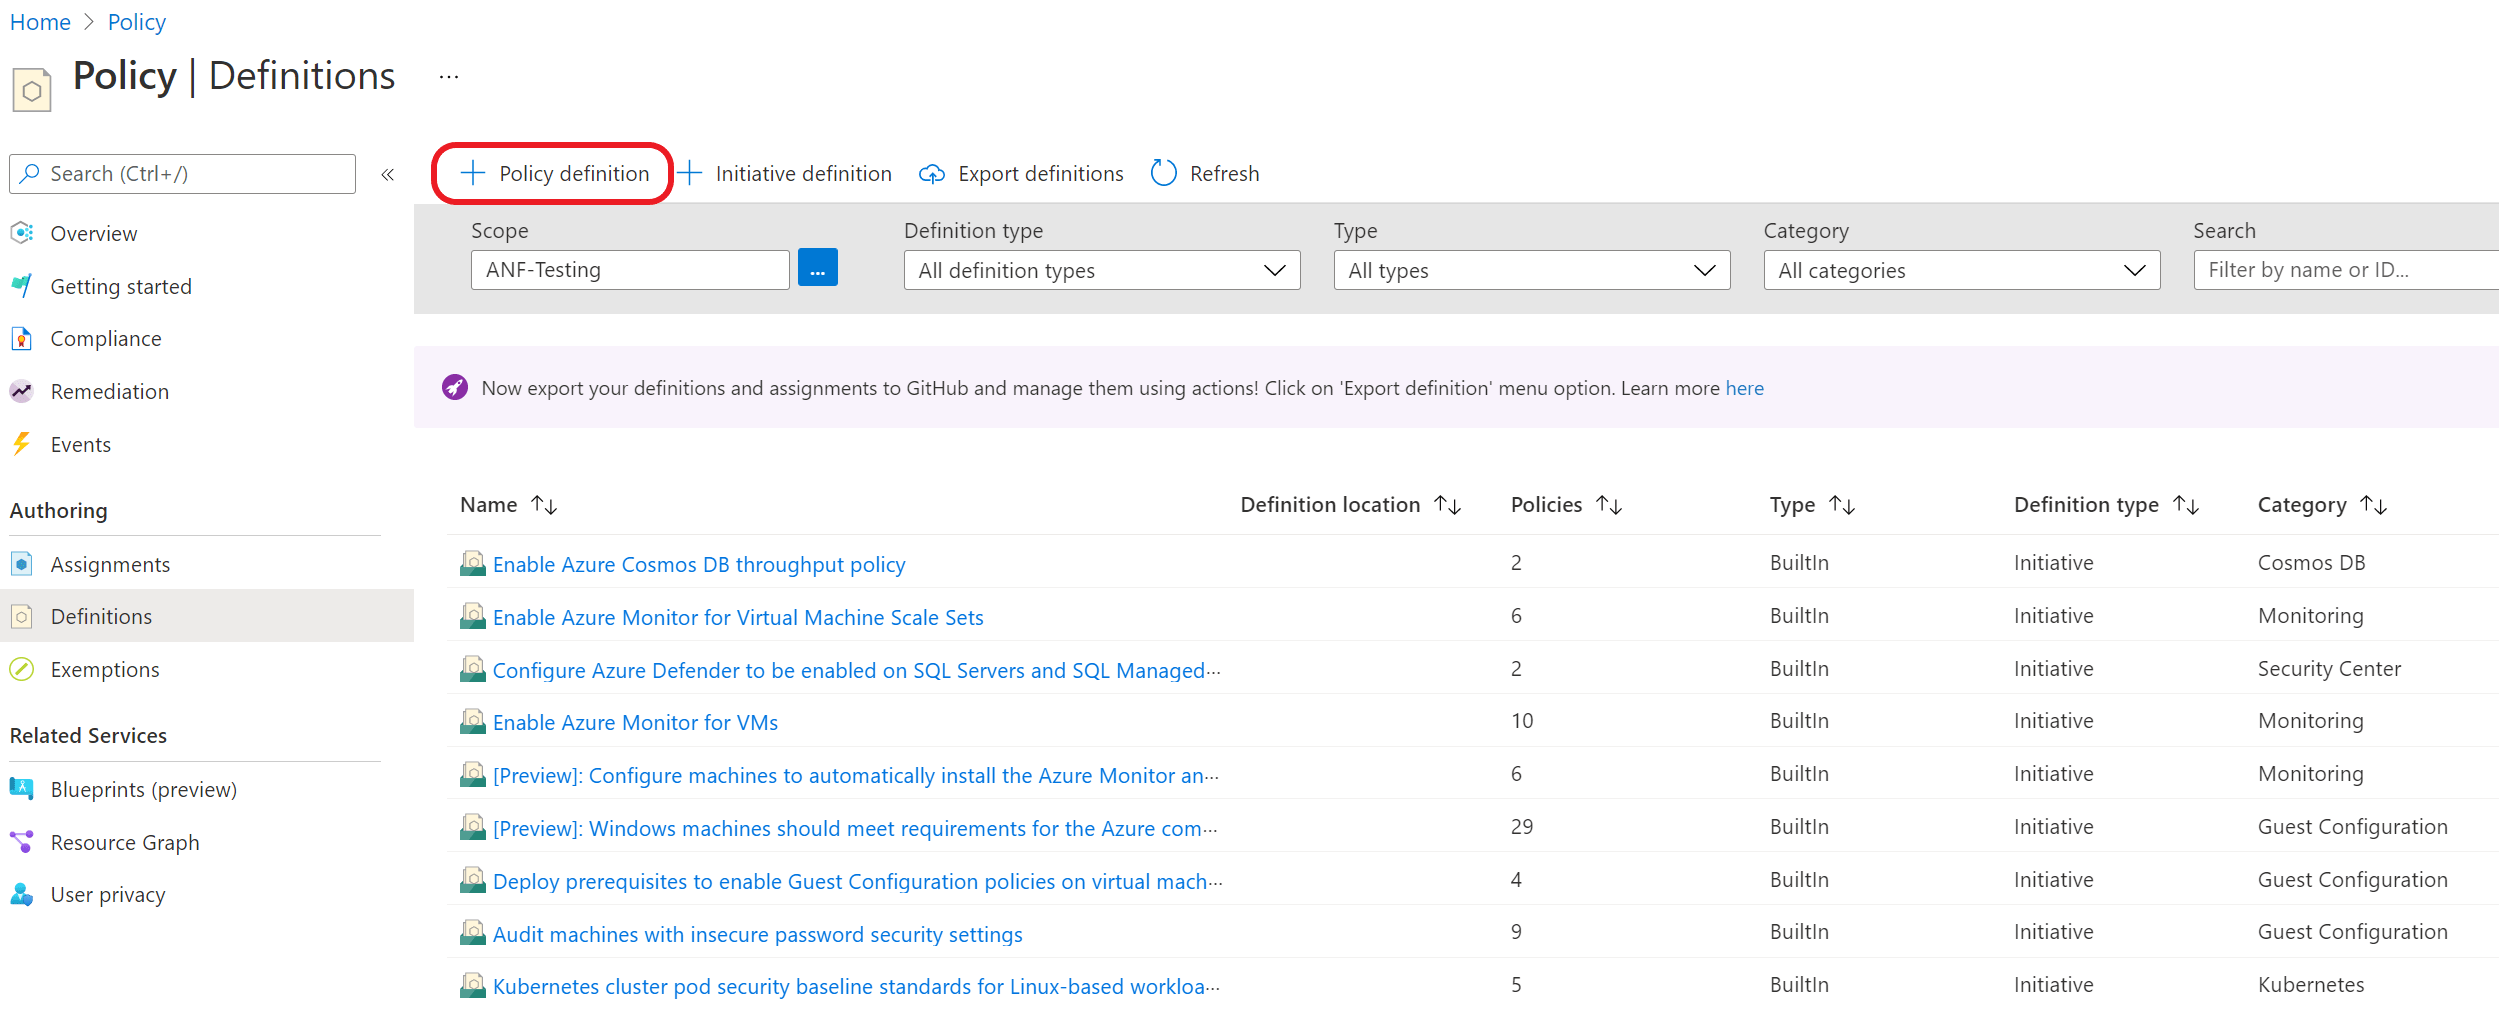
2. Click on the ‘+ Policy definition’ button and you should see a screen that looks like this:

3. Define your new policy definition
- For the ‘Definition location’ field, click on the ‘…’ and select the subscription where this policy definition should live.
- Give your definition a name, for example: ‘Require Snapshot Policy’
- Optionally provide a description
- Assign a category or create a new categroy. I chose to create a new category called ‘Azure NetApp Files’
- Replace all of the content in the ‘POLICY RULE’ editor with the code below:
{
  "mode": "All",
  "policyRule": {
    "if": {
      "anyOf": [
        {
          "field": "Microsoft.NetApp/netAppAccounts/capacityPools/volumes/dataProtection.snapshot.snapshotPolicyId",
          "exists": false
        },
        {
          "field": "Microsoft.NetApp/netAppAccounts/capacityPools/volumes/dataProtection.snapshot.snapshotPolicyId",
          "equals": ""
        }
      ]
    },
    "then": {
      "effect": "audit"
    }
  },
  "parameters": {
  }
}
When you are done it should look like this:

4. Scroll down and click the ‘Save’ button. At this point you should be taken back to the long list of policy definitions.
5. Assign your Policy
- Find your policy in the list and click on it’s name
- Click the ‘Assign’ button
- Make sure the ‘Scope’ is set to the appropriate subscription, optionally you can limit the scope to a specific resource group.
- Click ‘Review + create’
- Click the ‘Create’ button
A couple of things to note:
1. Notice the ‘effect’ parameter in the code above is set to ‘audit’. This setting will still allow a volume to be created if a snapshot policy is not selected during volume creation. If you would like to deny volume creation if a snapshot policy is not specified, change this field to ‘deny‘:
{
  "mode": "All",
  "policyRule": {
    "if": {
      "anyOf": [
        {
          "field": "Microsoft.NetApp/netAppAccounts/capacityPools/volumes/dataProtection.snapshot.snapshotPolicyId",
          "exists": false
        },
        {
          "field": "Microsoft.NetApp/netAppAccounts/capacityPools/volumes/dataProtection.snapshot.snapshotPolicyId",
          "equals": ""
        }
      ]
    },
    "then": {
      "effect": "deny"
    }
  },
  "parameters": {
  }
}
2. The initial evaluation could take several minutes, so be patient. Once the policy does evaluate for the first time, you should see a report that shows which volumes are ‘Non-compliant’. Take a look below for an exmaple from my lab environment:

Thanks for reading and I hope you found this information useful. If you have any questions or suggestions on how to improve this post, please comment below.